

PV Tools: PV Add-In Toolkit for C++BuilderX
1. Introduction
PV Add-In Toolkit is a collection of tools that simplify creating Add-Ins for PV and provides integration for the C++BuilderX IDE. It consists of the following components:
- pvbuild.exe / pvbuild.tool - a Build tool that provides a consistent build interface for both PV SDKs (PV2-SDKEN03 and PV-S1600-SDK) and autimatically generates makefiles, including the appropriate toolset definition for C++BuilderX
- AddInWiz.jar / pvwizjni.dll - an OpenTool for C++BuilderX that contains several wizards and the runtime configuration for the NC3022 simulator
- a86viewer.jar - an OpenTool that implements a syntax highlighter for Assembler source files
PVBUILD interacts with the compilers and make programs of both PV SDKs so it is not necessary to work with makefiles directly. (If you want to change the makefile by hand, disable the "Generate Makefile" option. PVBUILD then implies the existance of a makefile.) The toolset definition is integrated into the Borland Toolset so Code Insight can be used.
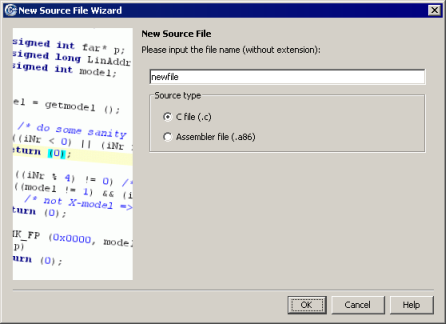
AddInWiz.jar provides five wizards (New Add-In, New Library, New Source File, New Header File, Add Library) and a PV2-SDKEN03 simulator runtime configuration that simplify creating, managing and debugging of PV applications.
2. Download and Installation
Download:
- pvat102setup.exe - PV Add-In Toolkit Setup
- pvat102src.zip - Source-Code für pvbuild.exe, pvwizjni.dll (C++), AddInWiz.jar, a86viewer.jar (Java), pvbuild.tool and installer script
Requirements:
- Windows 98/Me/2000/XP (tested with Windows 98 SE and Windows XP)
- 6.7 MB free hard disk space
- PV2-SDKEN03 and PV S1600-SDK
- Borland C++BuilderX 1.0 oder v1.5
3. Overview
The functionality of PV Add-In Toolkit is demonstrated in the following.
First, let's create a project group:

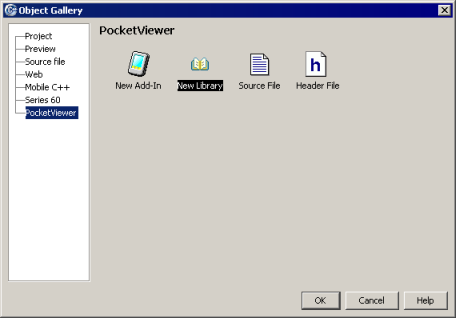
The gallery wizards added by AddInWiz.jar show up here:
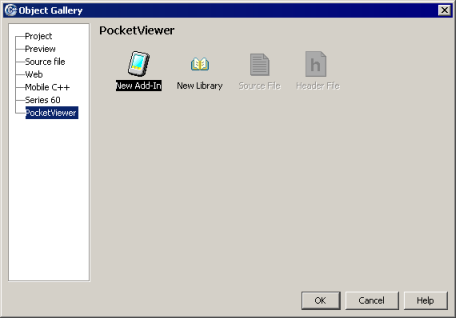
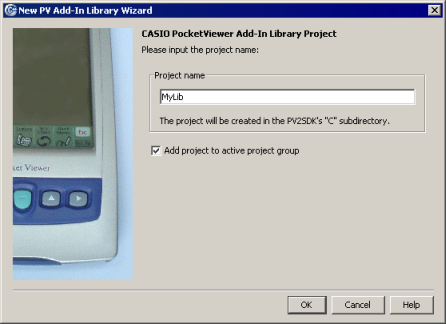
The "New Add-In" wizard creates a new Add-In project in the directory of the PV2-SDKEN03. If available, it can be added to the active project group.
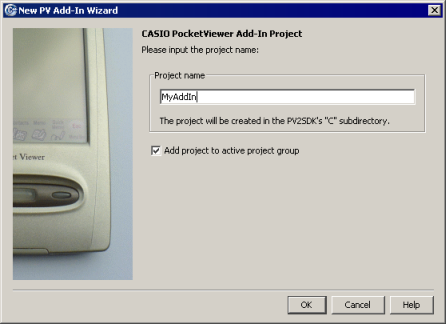
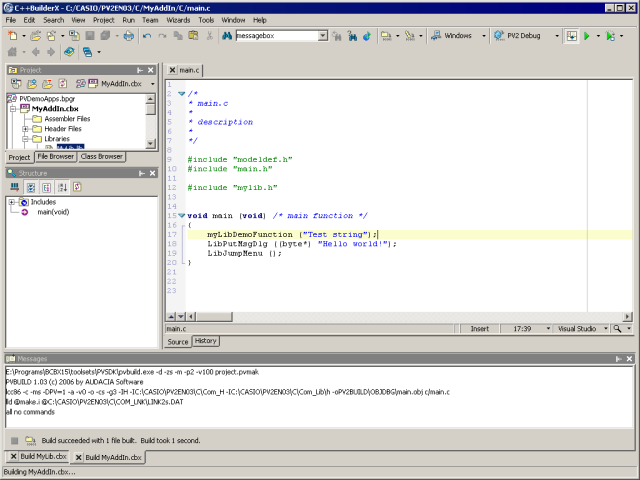
A new project created with the wizard looks like this. Two header files and a .c file that contains the main() function are generated automatically.
The main() function mustcall LibJumpMenu for leaving the program, otherwise the PV might hang.
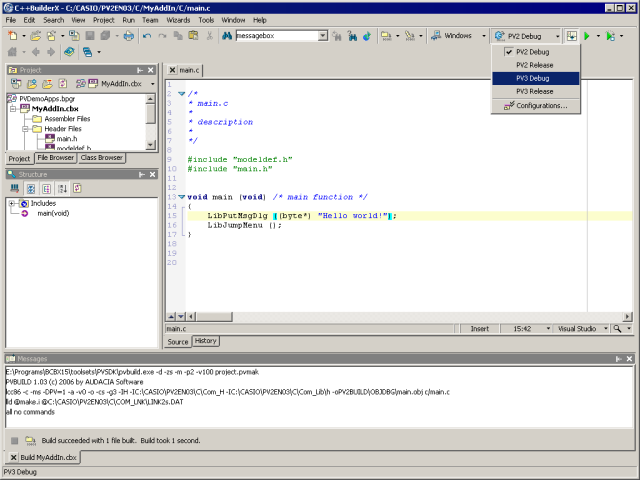
The button maked with "Configuration" can be used to select the SDK to be used for the build process and whether a debug or a release build is to be performed. The "Make Project" button builds the project using the selected configuration, the "Start Program" button starts the release version and the "Debug Program" button starts the debug version of the program with the PV2-SDKEN03 simulator (the PV-S1600 simulator is not supported yet).
Always create new source or header files using the gallery wizards; in any case, source files have to be placed in the appropriate folder since the IDE tries to compile the files using the BCC otherwise.

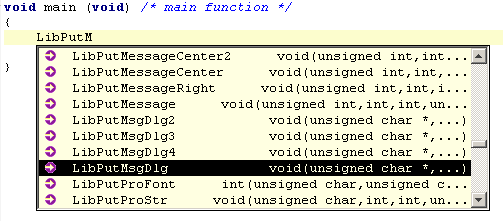
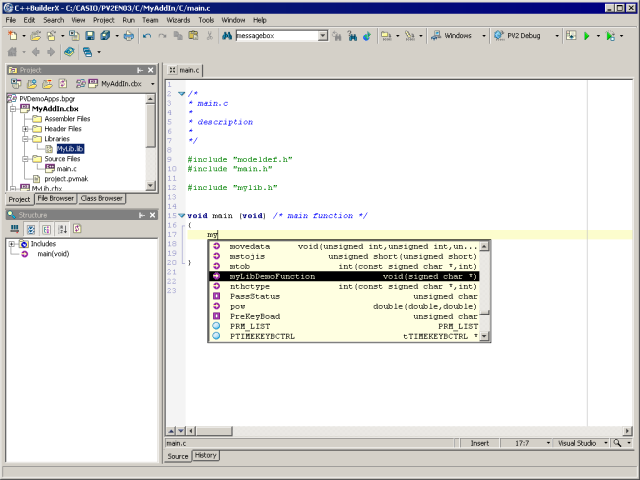
Code Insight or Member Insight (after . und
->) can be invoked by pressing Ctrl+Space:
In addition, Parameter Insight can be invoked by pressing Ctrl+Shift+Space:

Now let's build our program using the PV2-SDKEN03 by clicking "Make Program".
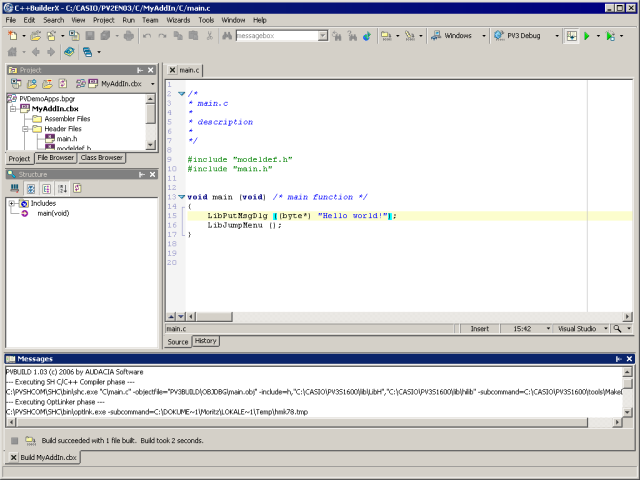
At the push of a button, the program also compiles with the PV-S1600-SDK:
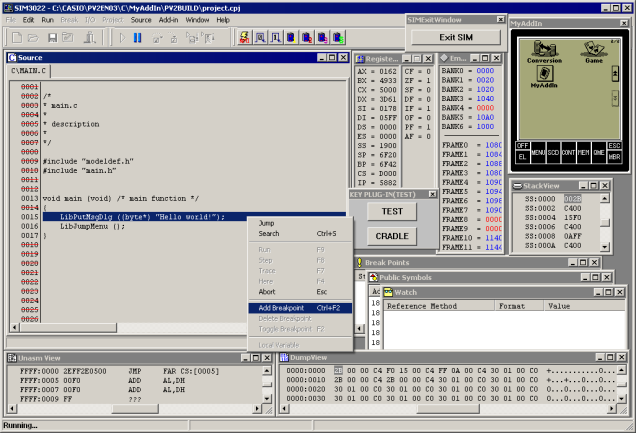
By clicking "Debug program", we start the simulator. The program and the debug symbols are loaded automatically. Now, we can debug the program using the possibilities of the simulator debugger (I assume you to be able to handle a debugger).
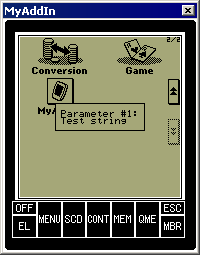
This is the output of our first Add-In:

Let's create a library that exports a function we want to use in our program:
We add declaration and definition of a function to library.h and library.c.
It might be sensible to change the name of the "library.h" header file to a name that can be associated with your library since this is the file included by programs that make use of the library.
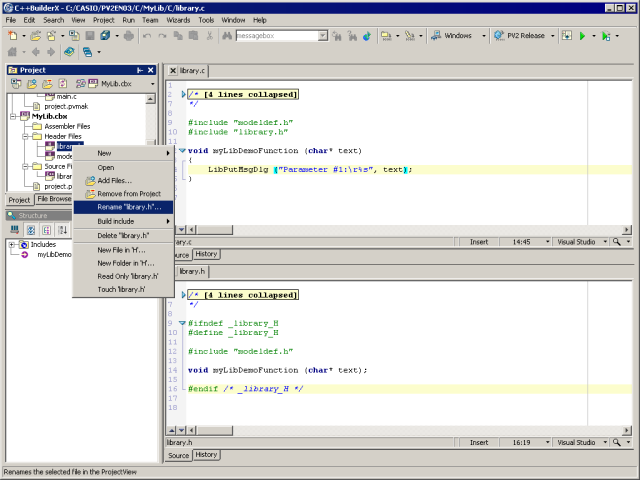
After renaming the file and building the library, we select the MyAddIn project again:
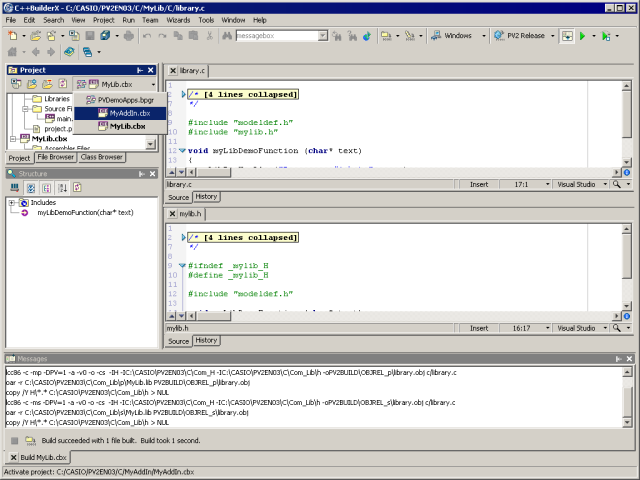
Now we add the library to our project using the wizard at "Wizards|PocketViewer|Add Library":

The library header file must be #included (it has been copied to the library header directory of the PV SDK) so we cann call the functions it provides:
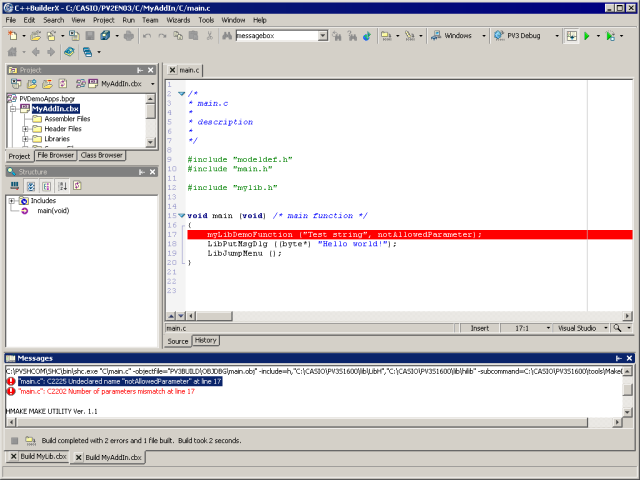
Error and warning messages by compiler or linker are parsed by the IDE so that it is possible to jump to the error by just clicking on the message.
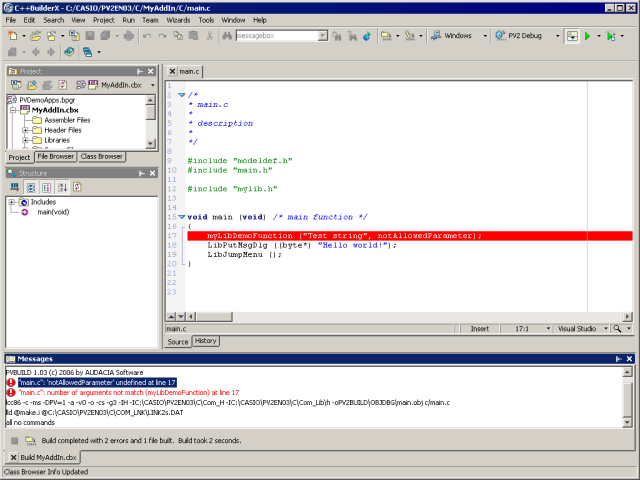
That does also work with the PV-S1600-SDK:
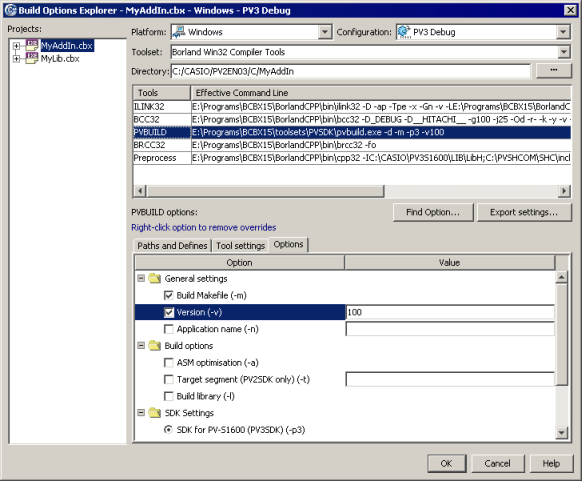
The PVBUILD call parameters can be adjusted in the Build Options Explorer ("Project|Build Options Explorer..."):
4. Documentation
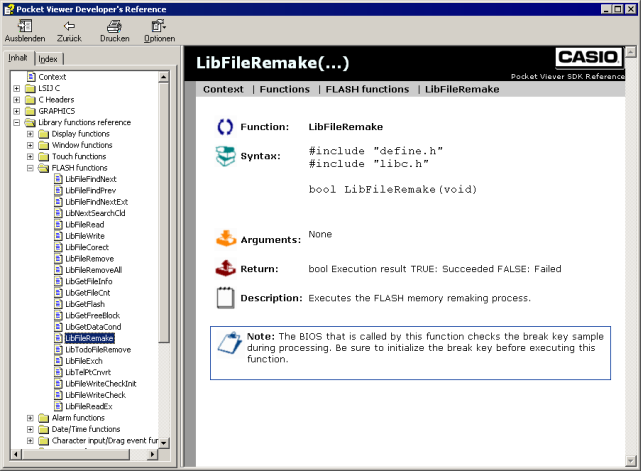
The SDK documentation can be found in the \DOC subdirectory of the SDK directory, mostly as PDF files. Since PDF is not the optimal format for a reference, I recommend this help file that is laid out much better:
